Which Crimping Butt Connectors Are Best in 2026?
Choosing the best Crimping Butt Connectors in 2026 means looking beyond package counts and bright insulation. A reliable connector should match the wire gauge, fit the application, and form a secure crimp with the correct tool. Look closely at barrel material, insulation quality, and whether the connector is rated for the conditions where it will be used. Small details matter.
This guide compares common connector types and practical selection factors, including heat-shrink sealing, vibration resistance, and ease of inspection. You will also see why a clean, properly stripped wire and a calibrated crimper can matter as much as the connector itself. No brand is best for every job. That is worth remembering. Product claims can sound reassuring, but specifications and a hands-on crimp test offer better evidence. We’ll highlight what to check before buying, what compromises to expect, and which features suit typical automotive, marine, and household wiring repairs. A connector may look sturdy yet still be wrong for the wire or environment. Choose by fit and verified ratings, not appearance alone.
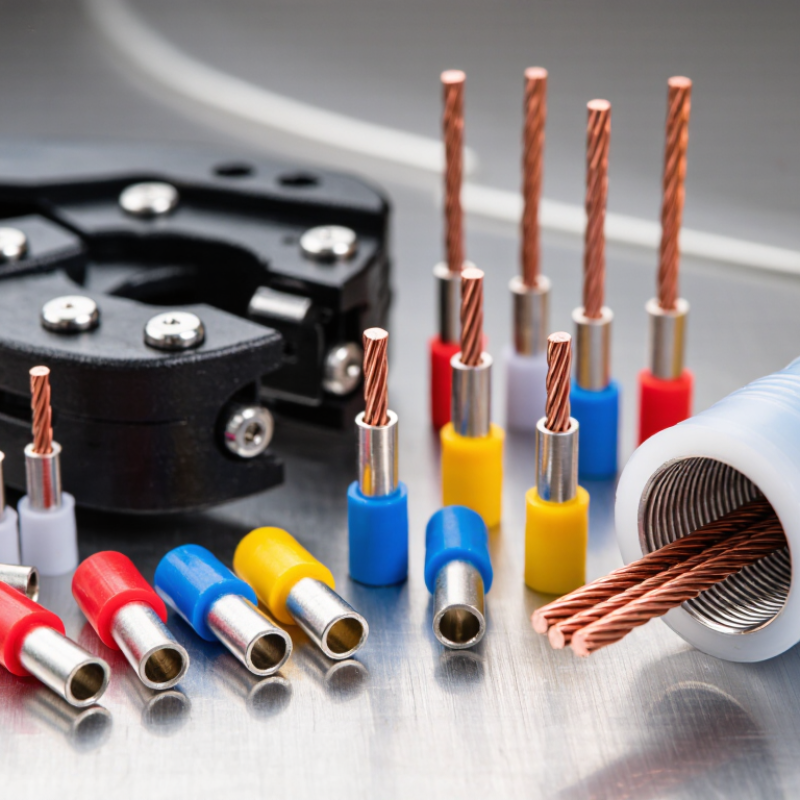
What Crimping Butt Connectors Are and How They Work
Crimping butt connectors join two wires end to end inside a small metal sleeve. An insulating cover surrounds the sleeve and helps prevent accidental contact. Some versions use heat-shrink tubing, which tightens around the joint when warmed. A seal is only reliable when the connector is rated for that use and installed correctly.
The process is simple, but details matter. Strip just enough insulation to expose the conductor without nicking its strands. Insert one wire into each end until both reach the metal barrel. Then use a crimping tool with a die suited to the connector and wire size. The tool compresses the barrel around the conductors, creating a firm electrical and mechanical connection. Not complicated.
A practical check helps. Gently pull each wire; neither should slide out. A loose crimp can cause resistance, heat, or an intermittent connection, even if the sleeve looks neat. Too much force can also damage the barrel or cut strands. I still find the strip length easy to misjudge, especially with fine-stranded wire. Match the connector to the wire gauge, use the correct tool, and inspect the finished joint before putting it into service.
What the chart shows: Insulated butt connectors join two wire ends inside a metal sleeve. A crimping tool compresses the sleeve around the conductors to make a mechanical and electrical connection. The bars show common wire-size ranges associated with red, blue, and yellow connector color codes; exact ranges can vary, so check the connector specifications and use a compatible crimper.
Connector Types for Different Wire and Environment Needs
Which Crimping Butt Connectors Are Best in 2026?
Connector Types for Different Wire and Environment Needs
The best butt connector depends on the conductor, insulation, and conditions around the joint. For ordinary copper wire indoors, an uninsulated barrel connector can work when the finished splice will be protected inside an enclosure. Nylon-insulated connectors add a tough sleeve for general workshop or vehicle wiring. Heat-shrink versions seal around the wire after crimping, making them useful where moisture and road splash are concerns. Match the connector’s wire range to the conductor gauge; a barrel that is too large may not compress securely.
For damp or corrosive settings, choose a sealed connector and compatible tooling, then inspect the crimp and seal. The NACE IMPACT study, commissioned by the corrosion industry, estimated global corrosion costs at US$2.5 trillion annually, or 3.4% of global GDP. That figure covers many industries, not connectors alone, but it shows why exposure matters. A sealed splice is not a substitute for sound crimping. Small details matter.
Tips: Strip only enough insulation to expose the barrel’s full contact area. Use the die specified for the connector, and tug-test a sample joint. If the wire strands are nicked, start again; that mistake is easy to overlook.
Sources: NACE IMPACT study, International Measures of Prevention, Application, and Economics of Corrosion Technologies (2016); IPC/WHMA-A-620, Requirements and Acceptance for Cable and Wire Harness Assemblies.
How to Choose the Best Butt Connector for Your Application
Choosing the right butt connector means matching it to the wire and working conditions, not just choosing a convenient size. Check the wire gauge printed on the cable, then select a connector rated for that range. A loose fit can create resistance and heat; an oversized connector may not compress securely. For vehicle wiring or damp areas, use a sealed connector suited to moisture exposure. For indoor, dry applications, an insulated connector may be sufficient. Read the connector’s temperature and material ratings before installation.
The crimp matters as much as the connector. Use a crimping tool designed for its terminal type, and position the wire fully inside the barrel. The insulation should stop near the barrel edge, with no bare conductor exposed beyond it. After crimping, tug each wire firmly. It should stay put. I’ve seen neat-looking crimps fail when the wrong tool leaves the conductor barely held; appearance alone is not proof of a sound joint.
Tips: Strip only enough insulation to fill the barrel. Avoid nicking the copper strands. Match the tool die to the connector, and test a sample if the setup is unfamiliar. If the wire pulls free or the insulation cracks, stop and reassess the size, tool, or technique.
Crimping, Sealing, and Testing a Butt Connector Joint
A dependable butt connector joint starts with matching the connector to the wire gauge and application. Disconnect power, then cut away damaged strands and strip only the length specified for the connector. Keep the copper clean and avoid nicking it. Small details matter.
Insert each wire fully, with no bare copper exposed beyond the barrel. Use a ratcheting crimper with the correct die; pliers can flatten the sleeve without forming a reliable crimp. Position the tool over the metal barrel, not the insulation, and complete the crimp cycle. For a heat-shrink connector, apply controlled heat evenly until the tubing shrinks and a small bead of sealant appears at each end. Don’t scorch it. I have found that rushing this step leaves uneven seals, even when the crimp feels firm.
Let the joint cool, then inspect both ends for exposed strands, split insulation, or a crooked barrel. Give each wire a firm pull. It should stay put. A pull test is useful, but it cannot prove every hidden defect is absent; critical work may require the specified inspection or electrical test. If the wire slips, cut the connector off and make a fresh joint. Reusing a failed crimp is tempting. It is also a poor bet.