10 Best Underwater Camera Lights for Clear Photos?
Choosing the right Underwater Camera Light can transform a dull reef scene into a vivid, detailed photograph. Below the surface, colors disappear quickly, especially red and orange. Water also scatters contrast, weakens sharpness, and creates blue or green casts across subjects. A dependable light restores natural color while revealing textures on coral, shells, fins, and wreck surfaces.
Underwater photography educator Alex Mustard has said, “Light is the key to underwater photography.” His point is practical, not decorative. Brightness matters, but beam angle, color temperature, battery life, and control matter just as much. A narrow beam can isolate a shy shrimp. A wide beam can evenly illuminate a reef wall. Poor positioning, however, may produce backscatter that looks like underwater snow.
No light is perfect.
This guide examines ten leading options for clear underwater images. Each model is considered for output, beam coverage, color quality, mounting flexibility, controls, and real diving conditions. We also look at practical details, such as whether buttons remain usable with thick gloves or whether a light survives repeated entries and rinsing. Small weaknesses can become frustrating at depth. I have made that mistake myself: choosing impressive brightness while overlooking balance and beam control. The strongest Underwater Camera Light is not always the most powerful one. It should match your camera, housing, diving style, and subject distance. Some recommendations may suit macro specialists, while others fit wide-angle shooters better. Personal preference still matters. Clear photos require both capable equipment and disciplined technique.
What Makes an Underwater Camera Light Effective
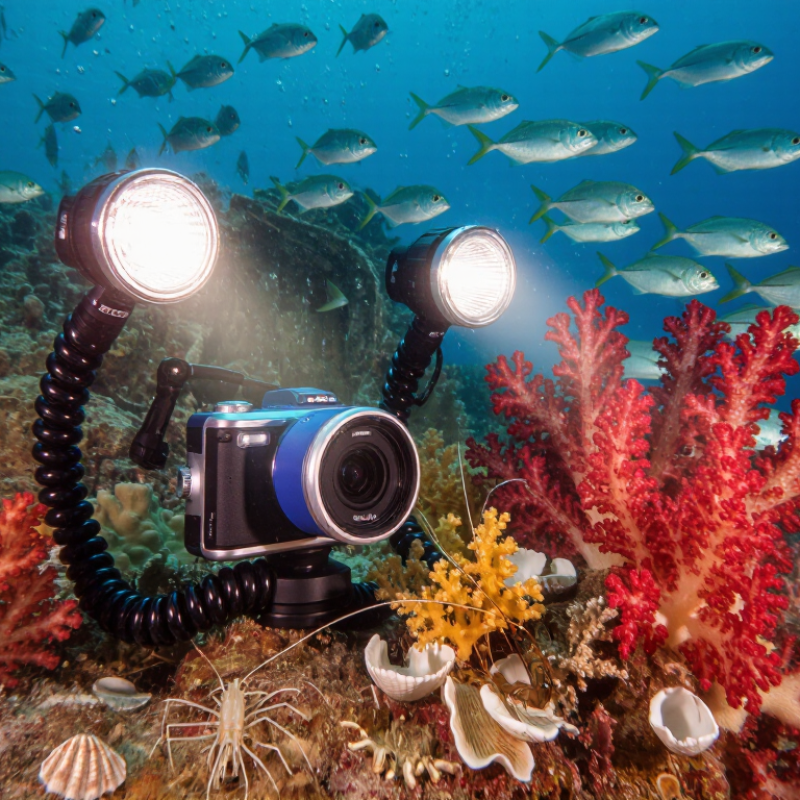
An effective underwater camera light does more than make a scene bright. It restores color that water removes, especially red and orange tones. In my dives, a light with a wide, even beam produced cleaner reef photographs than a stronger narrow beam. Beam angle matters near walls, wrecks, and shy animals. A sharp hotspot can bleach the center while leaving dark corners. Good lights also offer adjustable output, so you can lower power in shallow water and preserve natural shadows. Color consistency matters too. If the light looks green or overly blue, skin, coral, and sand may appear unnatural.
Tips: Test the light before entering the water. Check the battery seal, tighten the controls, and inspect the charging contacts. Mount the light slightly above and beside the camera to reduce backscatter from floating particles. Keep it close to the housing, but angle it outward. This small adjustment often turns white specks into a clearer background. Carrying a spare battery is sensible, although I sometimes underestimate how quickly cold water reduces runtime.
Reliability becomes critical below the surface. Choose a light with a pressure-rated housing, secure mounting, and controls you can operate with gloves. A useful light should survive repeated rinsing and accidental bumps, not merely look impressive online. Test brightness at different distances; maximum output can create harsh faces at close range. I still review my images after each dive, because “perfect” settings rarely stay perfect when depth, visibility, and subject distance change.
Key Features to Compare in Underwater Camera Lights
10 Best Underwater Camera Lights for Clear Photos?
Choosing among the ten best underwater camera lights requires more than comparing brightness. In my diving experience, color quality often matters more than maximum output. A high color rendering index preserves coral reds, skin tones, and small textures. Look for adjustable power levels, because strong light can flatten close subjects. Beam angle also matters. A wide beam suits reef scenes, while a narrower beam helps with macro photography. Check the stated depth rating carefully. Real diving conditions can exceed simple pool testing.
Tips: Test the light beside your camera before entering the water. Confirm that the controls remain usable with gloves. A secure mounting arm prevents distracting movement. Examine the battery compartment after every dive, even when the seal looks clean. Small grains of sand can cause serious leaks.
Battery life should match your planned dive time, not the manufacturer’s best-case claim. Practical tests are more useful than impressive numbers. Look for thermal protection, corrosion-resistant materials, and a simple charging system. Red or low-power modes can help during night dives, although results vary by subject and water clarity. I once chose a very bright light and regretted its short runtime. More power was not always better. Weight, balance, and easy adjustment deserve equal attention, especially when one hand holds the camera. A reliable light should support careful composition, not become another problem underwater.
10 Best Underwater Camera Lights for Clear Photos
Key features to compare include maximum brightness, beam angle, color rendering, depth rating, and battery runtime. The chart compares representative specifications commonly found in underwater camera lights.
Higher brightness helps illuminate wider scenes, while a wider beam angle reduces dark edges in close-up footage. A high CRI value preserves more natural colors, and greater depth rating and runtime improve reliability during longer dives.
Ten Notable Underwater Camera Lights for Clear Photos
Ten Notable Underwater Camera Lights for Clear Photos
Clear underwater photos depend on more than brightness. Water removes red tones, scatters particles, and exaggerates harsh shadows. In my diving experience, balanced light often beats maximum output.
Ten notable choices include a compact focus light, a wide-beam video light, a high-CRI light, an adjustable-power model, and a light with red mode. A dual-head light can reduce shadows around nearby subjects. A diffuser softens faces, coral textures, and reflective shells. A long-runtime light suits extended dives. A deep-rated light supports technical depth requirements. Neutral buoyancy also reduces hand fatigue.
Check beam angle, color temperature, CRI, battery access, and independent depth testing. A narrow beam can highlight a small subject, but it may create bright hotspots. Wide beams cover scenes better, although suspended particles become more visible. Red mode helps approach some marine life with less disturbance.
Use external lights slightly away from the camera axis. This reduces backscatter in dark water. Keep the light level modest near pale sand or white subjects.
I once used full power in a shallow cave and lost detail on a pale sponge. That mistake still influences my settings.
Reliable sealing matters too; inspect O-rings, rinse the light with fresh water, and dry contacts carefully. A light can be powerful, yet inconvenient underwater. Test its controls with gloves before descending.
How to Match a Camera Light to Diving Conditions
10 Best Underwater Camera Lights for Clear Photos?
How to Match a Camera Light to Diving Conditions
Choosing an underwater camera light starts with the dive, not the equipment list. In shallow water, sunlight may overpower a narrow beam and create harsh shadows. A medium beam with adjustable output usually gives more balanced results. Keep the light close to the camera. This reduces backscatter from floating sand.
Depth changes color quickly. Red and orange tones disappear first, so deeper scenes need strong, even illumination. For coral, fish, and close portraits, choose a light with high color accuracy and smooth brightness control. A wide beam works well for large subjects. A focused beam suits small details, crevices, and night photography.
Night dives need a dependable focus light and a separate imaging beam when possible. In silty water, lower power can produce clearer photographs than maximum output. Particles become bright snow. It is easy to forget this underwater.
Current also matters. A compact light creates less drag and helps steady your framing. Check the depth rating, battery endurance, switch design, and mounting security before entering the water. Wet gloves can make small controls frustrating. I once overestimated a light’s runtime during a cold, deep dive, and the final images looked dull. That mistake changed my checklist. Test output, beam spread, and battery life in real conditions, not only in a pool.